ADB FOR BEGINNERS-SIMPLE EASY STEPS!
Intro:
The Android Debug Bridge, which comes as part of the Android SDK, allows for communication between your desktop computer and target device. So what can you do with ADB? Quite a bit. As alluded to earlier, you can push files to the device from the client PC, pull device from the device to the client PC, you can reboot (to Android, boot loader, or recovery), record a logcat, obtain a bug report, execute many standard Linux commands, and much, much more.
The biggest problem for new users becomes knowing what commands can be executed and remembering the proper syntax. Luckily, these commands and their syntax are all pretty understandable.
So let's start.
Adb start-server :
This command starts the adb daemon on your desktop computer and allows your computer to interact with your device. Note that this command isn’t essential, as executing any other ADB command will automatically start the daemon.
------------------------------------------------
Adb kill-server :
As you would expect, this kills the adb daemon.
------------------------------------------------
Adb logcat :
This generates a logcat, which is quite useful when figuring out where things are going wrong. You can redirect the output into a text file by using “>”.
For example, you can type “adb logcat > logcat.txt”
to record your logcat as logcat.txt.
-------------------------------------------------
Well Guys this is enough For today try these commands in your PC ...
We will add more commands soon!!
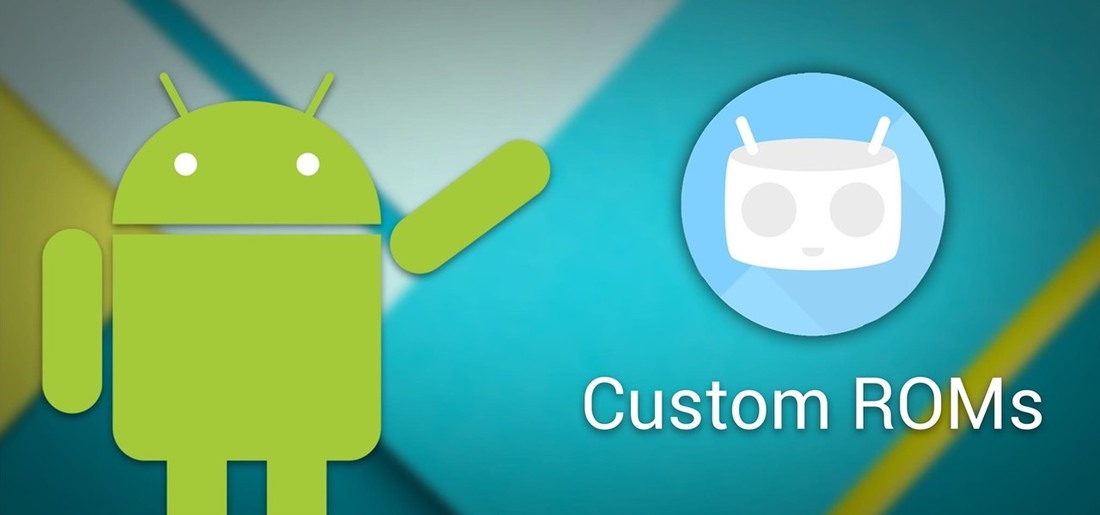
How to Flash custom Android Roms!
Flashing a custom ROM is pretty easy once you get your android rooted,if you don't know how to root refer this tutorial here.
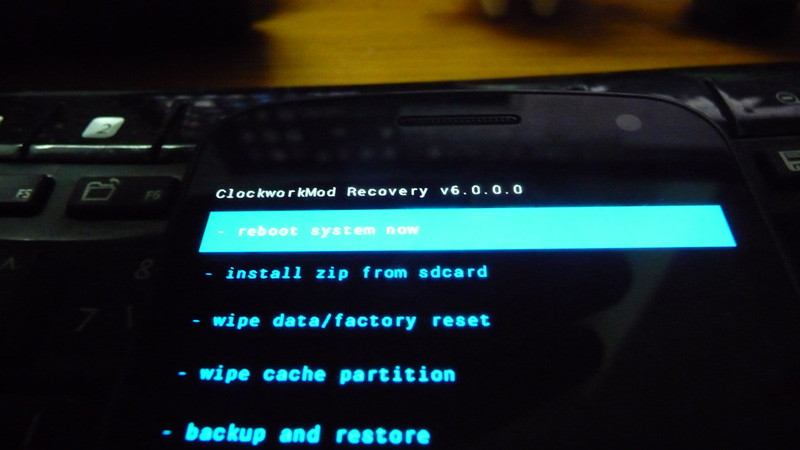
It all starts with a custom recovery.
Custom recovery refers to a recovery which is not the manufacturer provided.
These are some custom recoveries which you could use.
1.TWRP
2.CWM
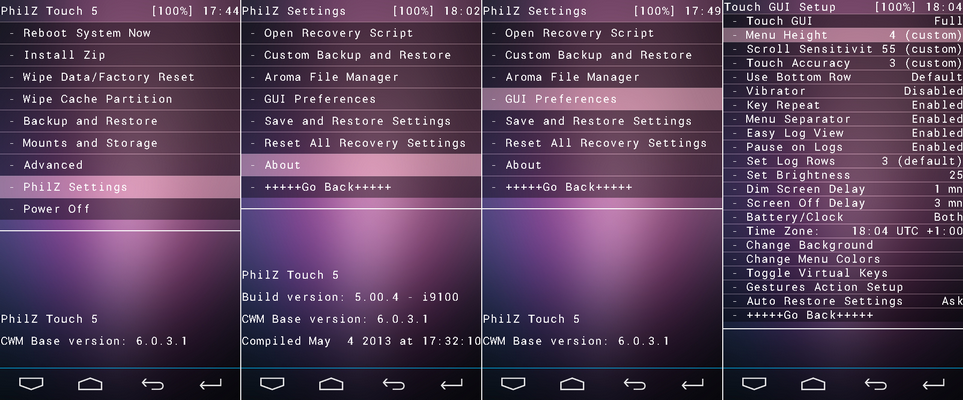
3.PHILZ TOUCH
If you need a tutorial to flash custom recovery in your device refer here.
You need to search a custom rom for your device on the google or you can also use rom manager app present in the play store.
tHe rom size depends on its features and how much contents it has packed in it. Be carefull to choose a correct custom rom for your deviice, chossing rom rom might soft brick your device and even hard brick in some cases. |
|
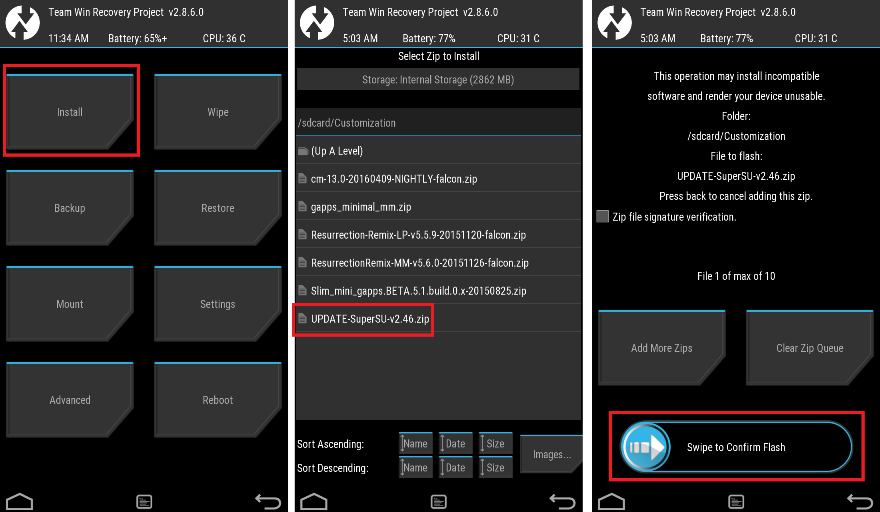
Once you get a Custom Rom for your device then that's it then just follow these steps:
1.PLACE THE .ZIP FILE IN THE ROOT OF YOUR PHONE OR YOU CAN PLACE IT ANYWHERE ,BUT FOR THE CONVENIENCE PLACING IT IN THE ROOT OF YOUR INTERNAL STORAGE.
2.SWITCH OF YOUR PHONE.
3.PRESS AND HOLD THE POWER AND VOLUME BUTTONS TOGETHER AND BOOT YOUR PHONE TO RECOVERY MODE. BEFORE DOING THIS JUST CHECK IF THIS IS THE CORRECT WAY TO BOOT INTO RECOVERY FOR YOUR DEVICE, DIFFERENT DEVICES HAVE DIFFERENT COMBINATIONS.
4.ONCE YOU ARE IN THE RECOVERY MAKE SURE YOU MAKE A BACKUP OF CURRENT ROM IF ANYTHING GOES WRONG.
5.THEN WIPE FACTORY DATA AND WIPE CACHE,THIS SHOULD NOT HARM YOUR STORAGE BUT BACKUP YOUR DATA FOR SAFETY.
6.GO TO INSTALL ZIP AND SELECT THE PATH OF THE CUSTOM ROM AND SELECT IT SWIPE,TOUCH OR PRESS TO FLASH THE ZIP FILE DEPENDING WHICH RECOVERY YOU HAVE.
7.LET THE FLASHING COMPLETE AND REBOOT YOUR DEVICE.THE FIRST BOOT WILL TAKE SOME TIME, BE PATIENT AND THATS IT!
THIS SHOULD FLASH ROM ON YOUR DEVUCE SUCCESSFULLY!
|
2017©RooTviK
ALL RIGHTS TO CONTENT ON THIS APP BASED WEBSITE IS UNDER COPYRIGHT LAWS AND IS SPECIFICALLY DESIGNED FOR FAIR USAGE.
COPYING,PRINTING OR REUSING THE CONTENT WILL VIOLATE THE COPYRIGHT LAWS AND WILL BE SUBJECT TO INDIAN JURISDICTION AND AMERICAN CYBER-NET LAWS. |
